Ghost Effect Tutorial
Create a ghost effect with PIXLR image editing software and make beautiful art cards.
Step 1. Take some photographs
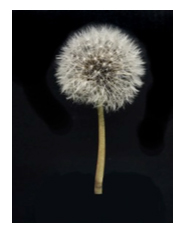
You can use any subject for this project and flowers or plants produceinteresting and colourful art. Photograph your subject against either a plain black or white background.
Step 2. Image editing
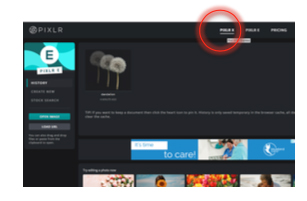
Go to www.pixlr.com. PIXLR is a free online image editing tool and is a great way to get started with image editing. You don’t need to log-in or sign up.
There are two options in PIXLR:
PIXLR X (express) allows you to apply instant filters similar to Instagram.nPIXLR E (editor) this is more of a complete image editing software and you will be using this one first.
PIXLR X (express) allows you to apply instant filters similar to Instagram.nPIXLR E (editor) this is more of a complete image editing software and you will be using this one first.
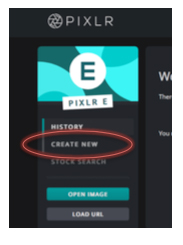
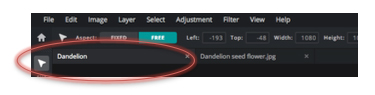
Next you need to create a background by selecting Create New and choose one of the templates depending on the shape and size you want (the Instagram template was used in this example as it is square).
Give your project a name and click create.
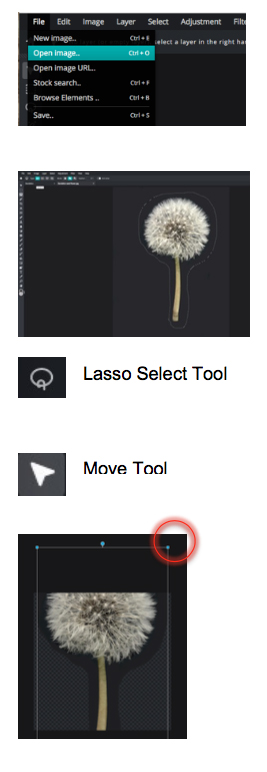
Now open your photo by selecting File - Open Image.
Use the Lasso tool from the tool bar on the left.
This will allow you to select part of the photo by drawing around it with the mouse.
Go to Edit – Copy.
Now switch to your background image and click Edit - Paste.
Select the Move tool from the tool bar on the left and drag the photo into position, allowing space for the ghost effect.
If you need to change the size, select Edit - Free Transform and click and drag the blue squares in the corners whilst pressing theshift key on your keyboard.
Now you need to fill the background layer with the same colour as the background on your subject layer. Select the colour Picker tool and click on the background colour of your subject.
Switch to the background layer and select the Fill tool and click anywhere in the background layer. This will fill the background with the same colour as your subject background. 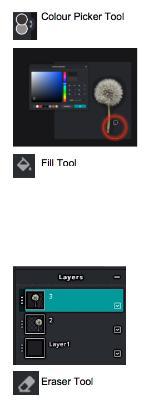
Now you are going to create the ghost effect of your subject. Select the subject layer in the layers box and click Select - Select All, then click Edit - Copy followed by Edit - Paste.
This will create an exact copy of your subject which is placed in a layer on top of the original.
You should now have 3 layers shown in the layers box on the right: the background, the original subject, and the copy you just made.
Use the move tool again to reposition the copy. Now select the Eraser tool to remove the edges that overlap.
In the layers box, click on the three dots next to the top layer to open the layer options,
then reduce the Transparency to 60% for a ghost effect.

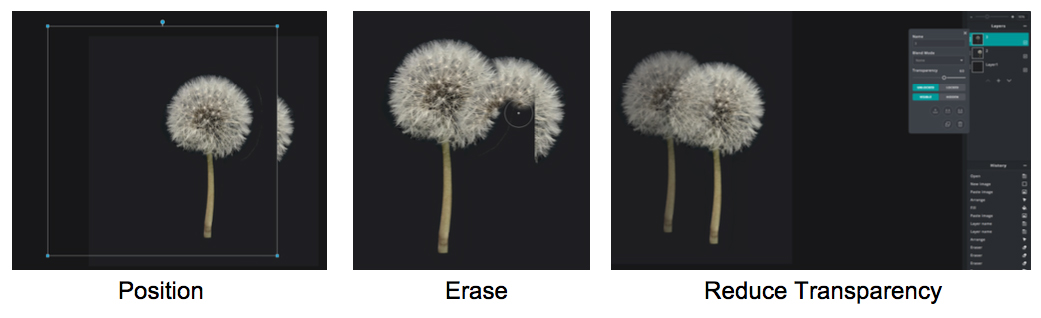
You can repeat this process to create as many ‘ghost’ images as you like, just remember to decrease the transparency a little more each time.
Once you have finished, click Layer - Flatten Image, then File - Save.
Step 3. Apply Filters
If you’re feeling creative you can open your image in PIXLR X
and apply filters. Just click the home button on the left of
the menu bar. This will take you to the PIXLR home page
where a copy of your project will be saved, just select PIXLR X
and then click on your project.
Select the filter effect menu from the left tool bar. You can 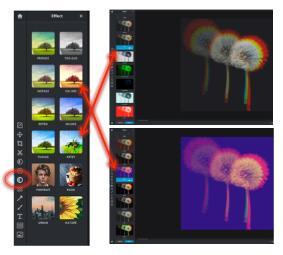
experiment with any of the filters and see which works best for
your project.
You can also apply several filters on top of each other.
Simply select the filter you like, click Apply then select another one.
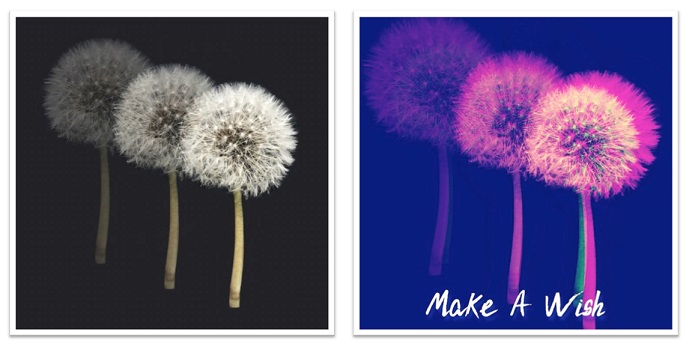
The filters used in this example are ‘Frank’ from the Artzy Menu, then ‘Amber’ from the Colours menu.
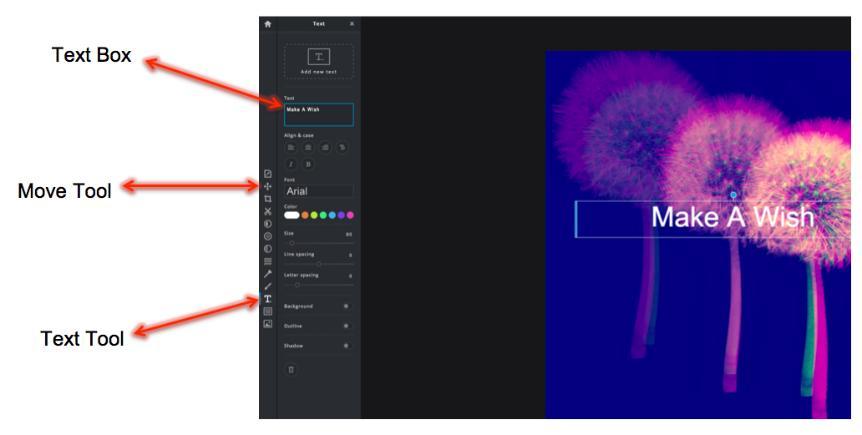
You can also add text to your project by selecting the Text tool. This will open the text menu where you type into the text box on the left. You can also change the font, colour and size of the text and create a text shadow. Use the Move tool to position the text.
Once you have finished, go to File - Save and download your art.